DHIS2 Installation on Windows Local Server
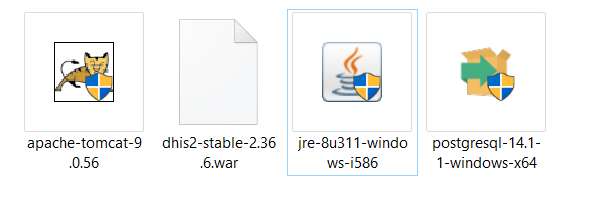
Last updated: January 16, 2022- 1. DHIS2 2.36 (https://dhis2.org/downloads/)
- 2. Java 1.8 (https://www.java.com/en/download/manual.jspWindows offline 64 bit)
- 3. Tomcat 9 (https://tomcat.apache.org/download-90.cgi, 32-bit/64-bit Windows Service Installer)
- 4. PostgreSQL 14 (https://www.postgresql.org/download/windows, Download the installer)
2.1 Double click on the jre-8u311-windows-i586 and then click on the Install button
2.2 Started Java Installation:
2.3 Completed installation:
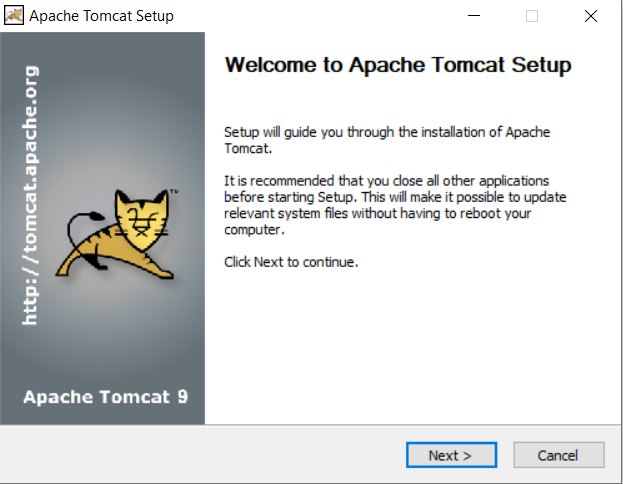
3.1 Double click on the apache-tomcat-9.0.56 and then click on the “Next” button:
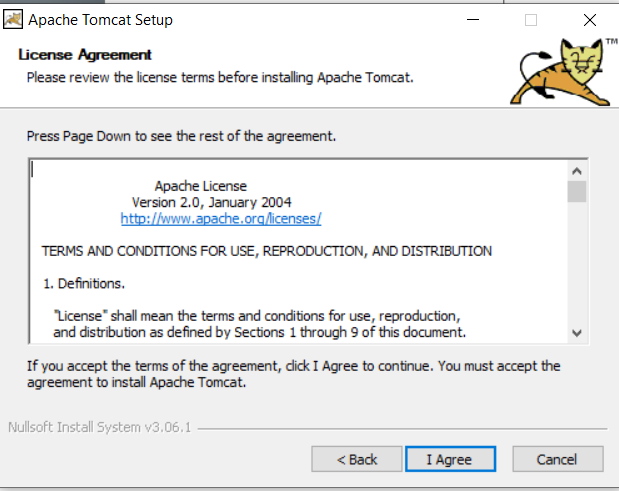
3.2 Click on I Agree button:
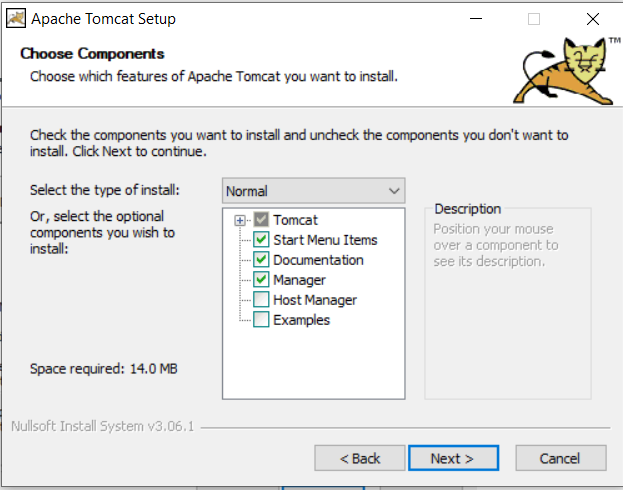
3.3 Choose components and click on the Next button
3.4 Now, you need to provide Username and Password and click on the Next button:
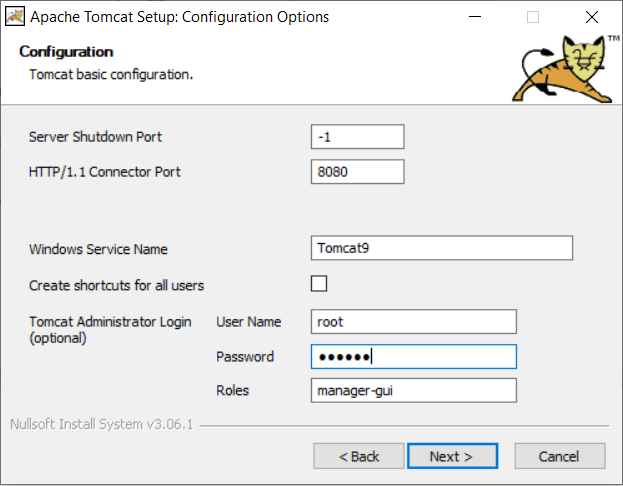
Username: root
Password: 123456

Note: You can set your own username and password.
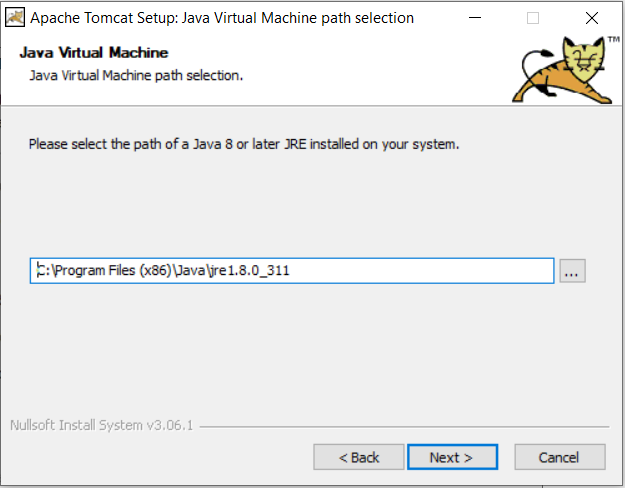
3.5 You can change the default path and click on the Next button:
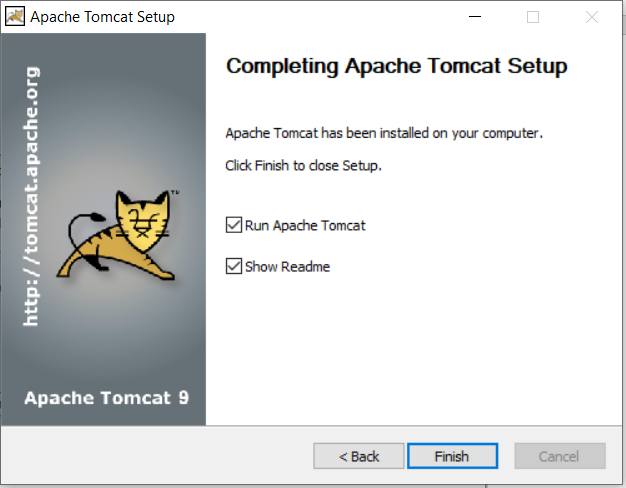
3.6 Uncheck the “Run Apache Tomcat” and then click on the Finish button.
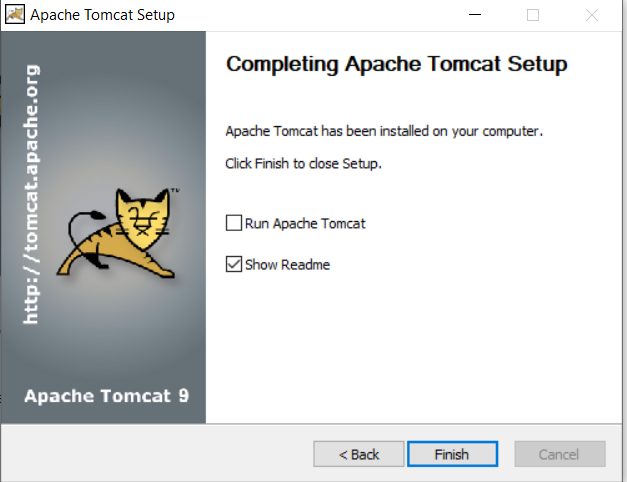
3.7 Finished installation
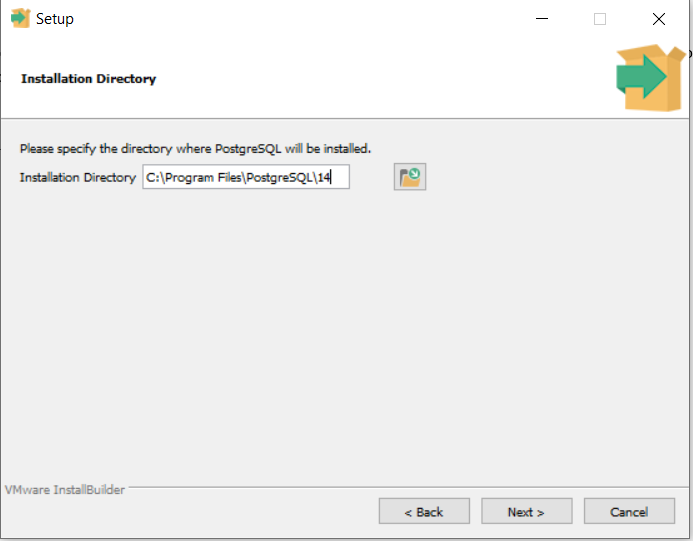
4.1 Double click on the “postgresql-14.1-1-windows-x64” and proceed with Next button and define your installation directory:
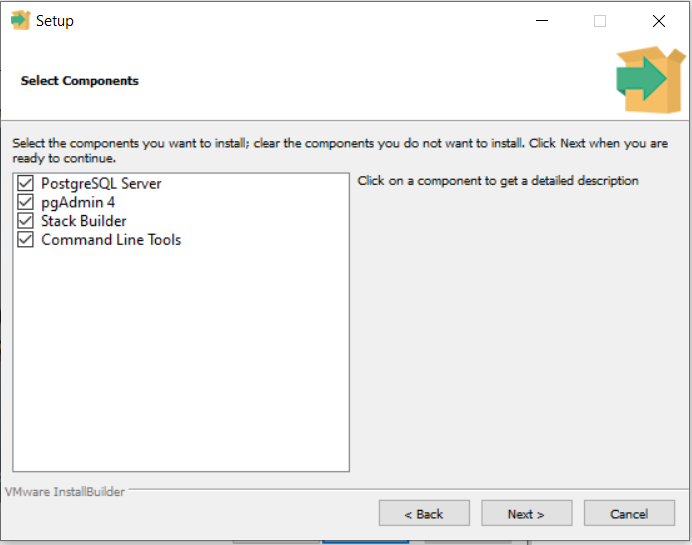
4.2 Select the following components (Default it will be selected) and click on the Next button:
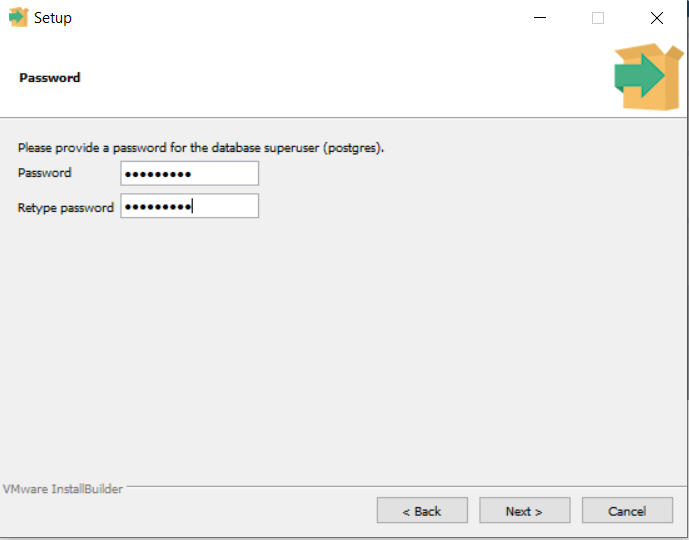
4.3 Set the master password for the superuser ‘postgres’
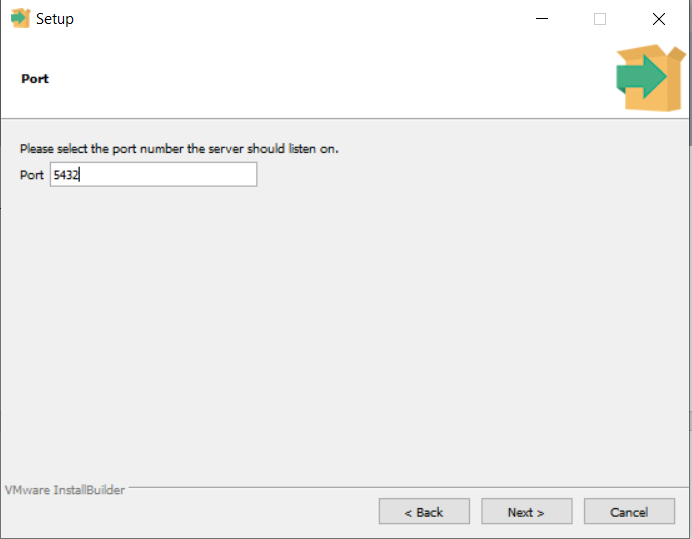
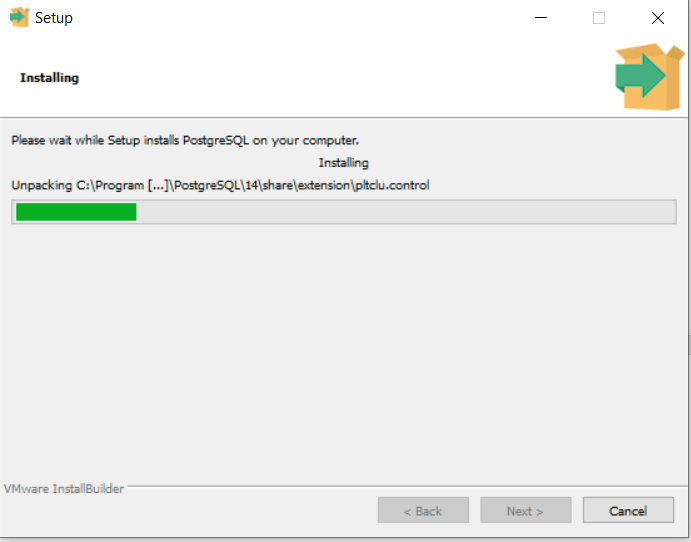
4.4 Proceed with installation and it may take a few moments and click on the Next button:
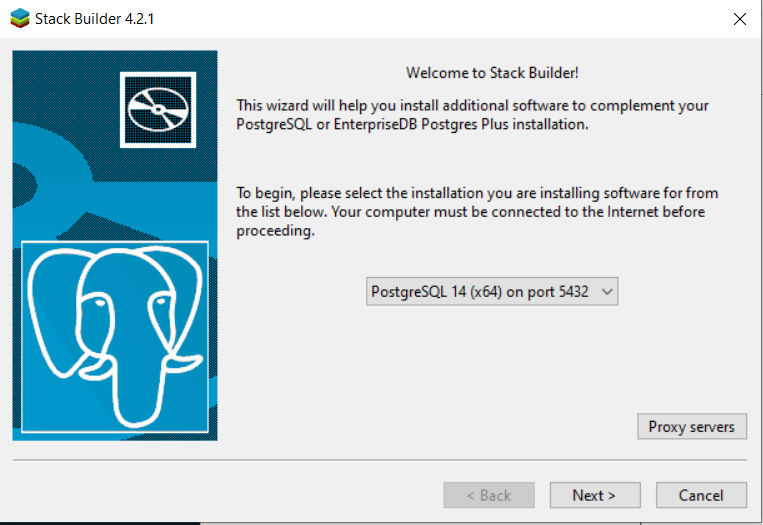
4.5 Click on the Finish button and it will show you the another window for Stack Builder (Don’t uncheck Stack Builder):

4.6 Now select the PostgreSQL 14 and click on the Next button:
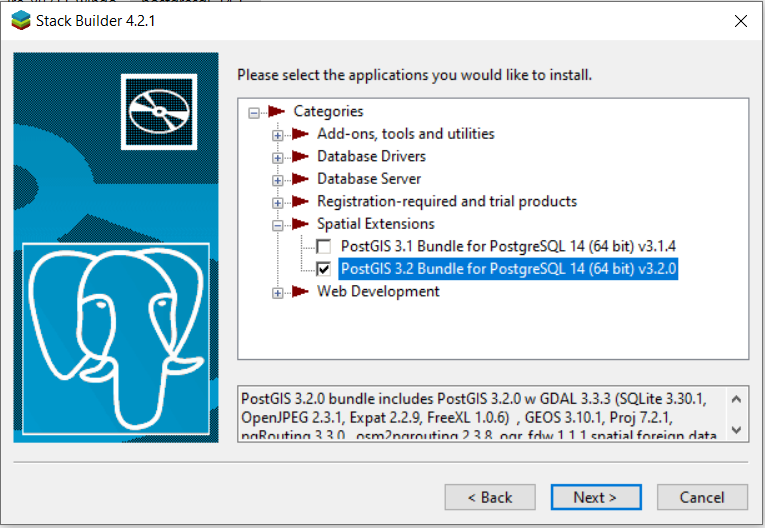
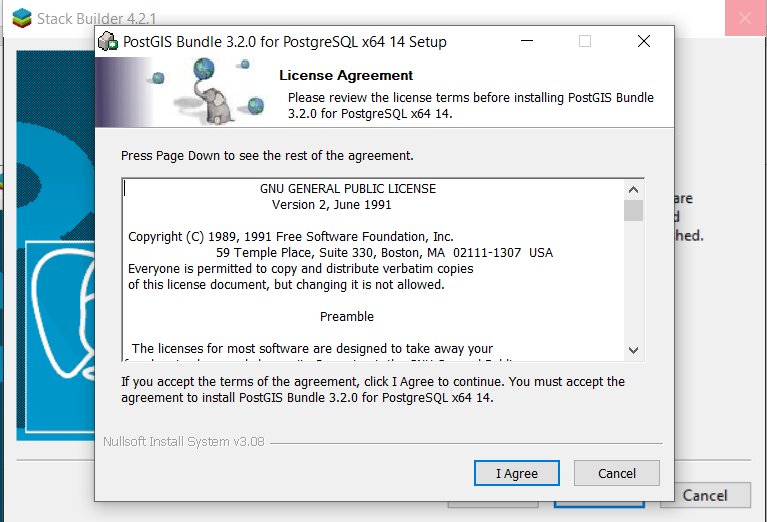
4.7 Expand the Spatial Extension and tick on the 2nd one:
4.8 Select destination and click on the Next button:

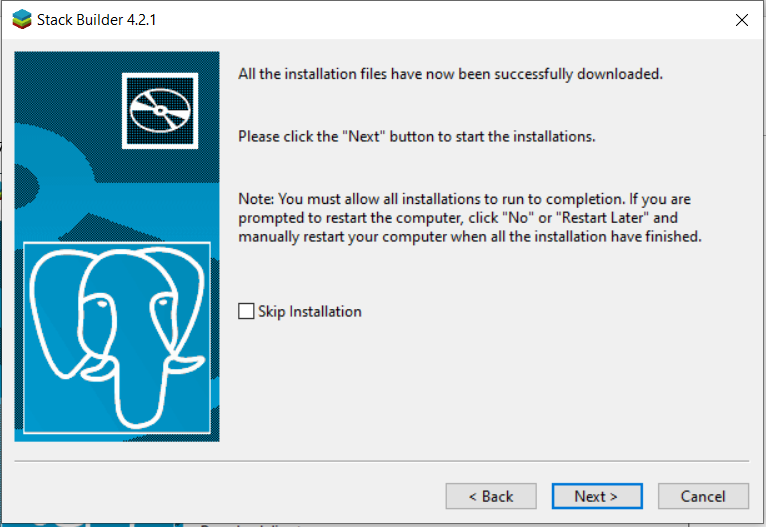
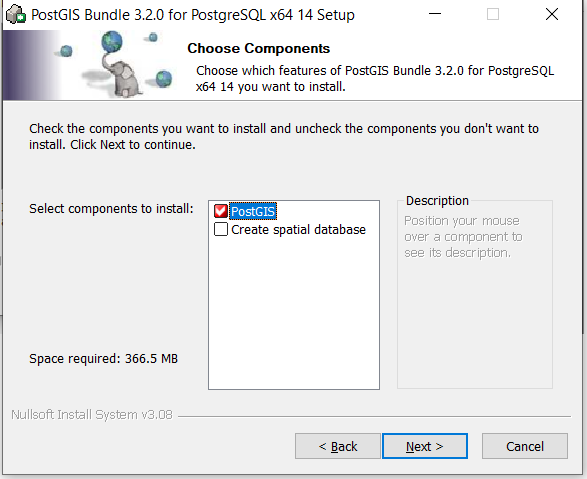
4.9 Select component to install. By default the PostGIS will be selected so just click on the Next button:
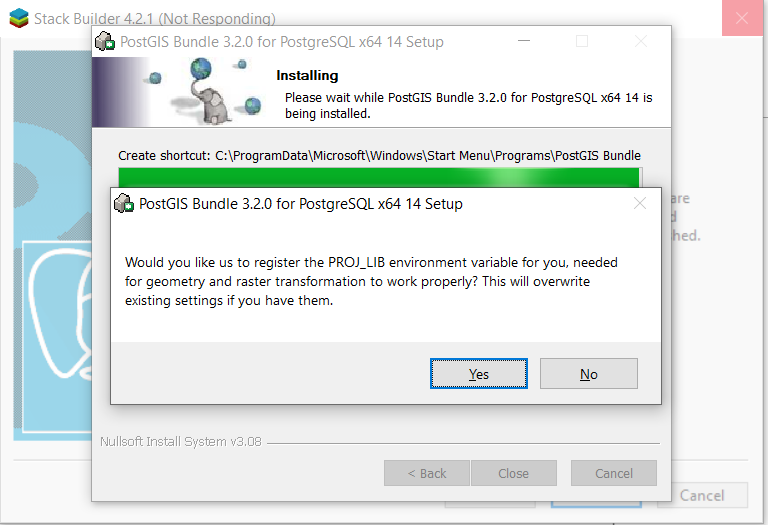
4.10 Now you can see some Pop-up windows and click on the Yes button for all:
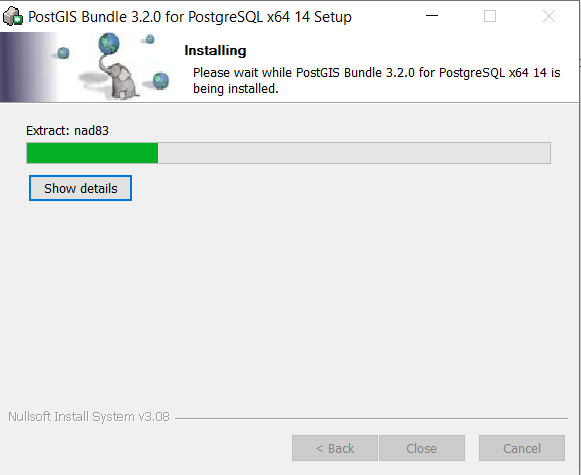
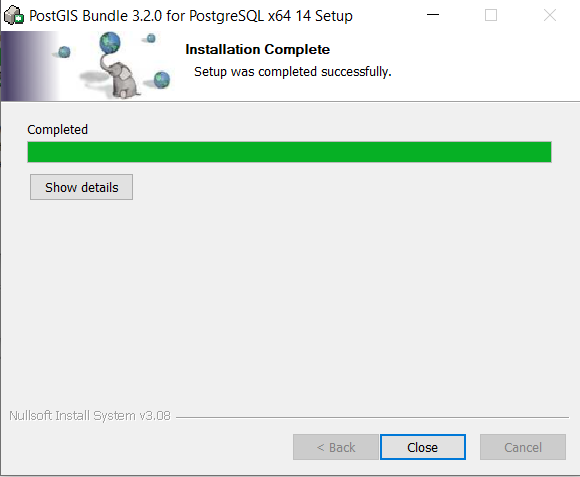
4.11 Wait for a while and it will finish the PostgreSQL installation.
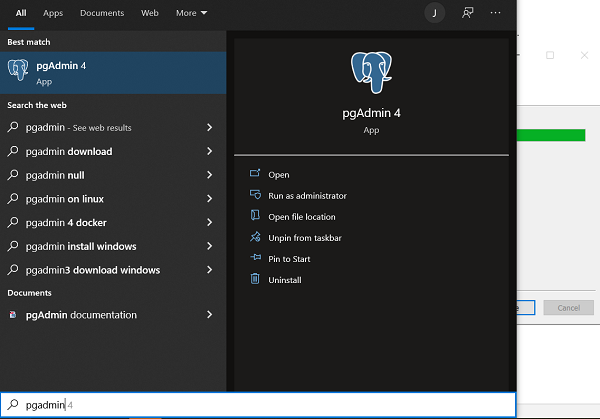
4.12 Now go to your Computer Search panel and type pgAdmin:
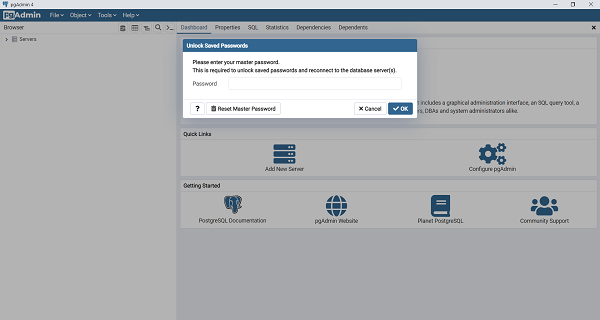
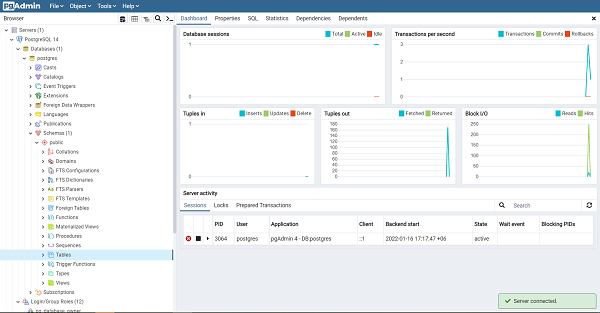
Note: If the password doesn’t work, click on the reset password button and set the same password. See the pgAdmin Dashboard:
So far, we have completed the Java, Tomcat and PostgreSQL installation. Out next step will be to create database for our local server.
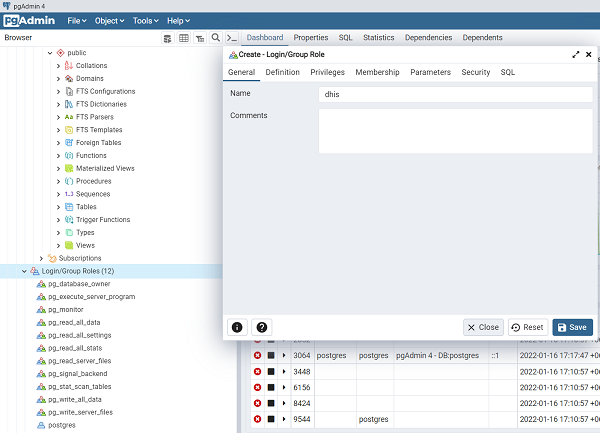
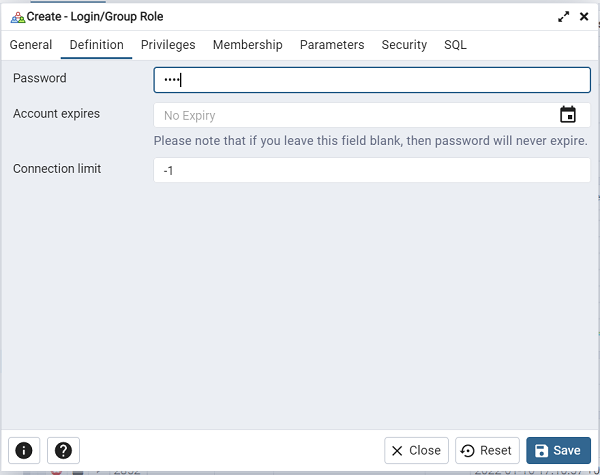
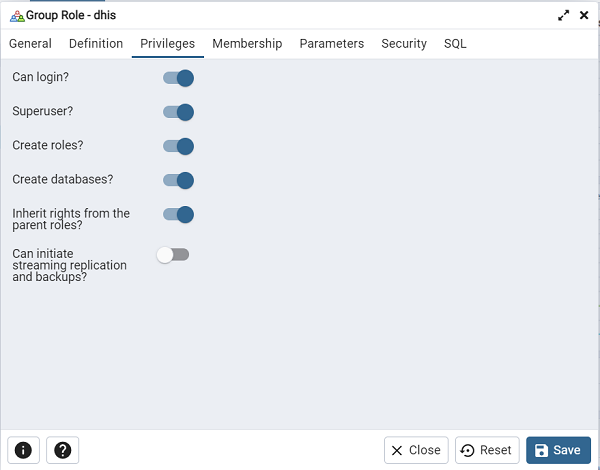
5.1 Click on the Login/ Group Roles and create the following roles:
5.2 Now we will create a new database ‘dhis2’ by right click on the Databases:

Database name: dhis2
Owner: dhis (just select from the dropdown)
Click on the save button.
5.3 Now we will create ‘postgis’ extension:
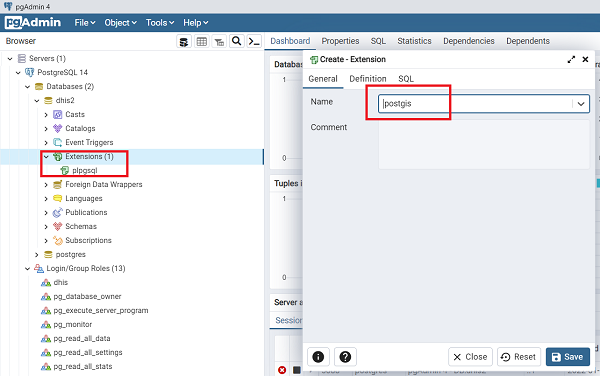
Select the extension name from the dropdown and click on the save button.
For now, we have finished the database part of the DHIS2 instance setup. Now we need some configuration of the installed software’s.
6.1 Environment variable set: Right click on The PC and click on Properties:
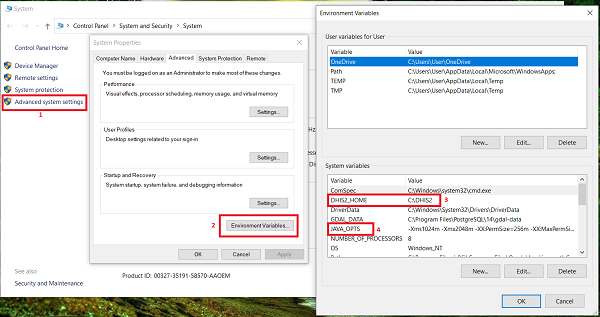
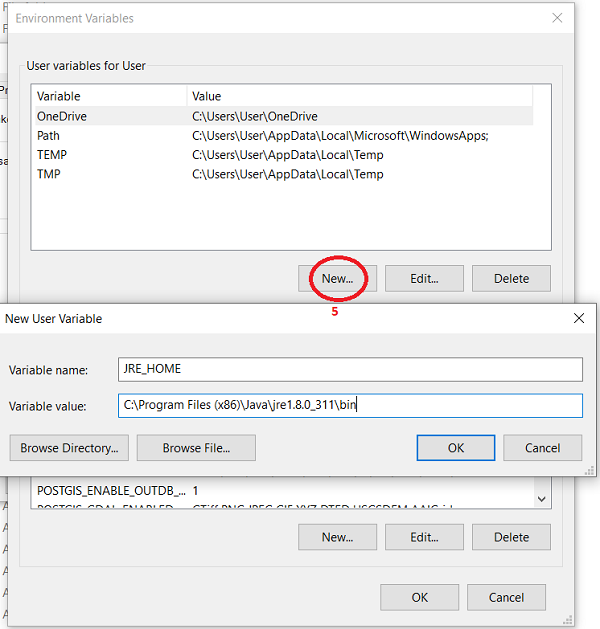
1. Click on the Advanced system setting
2. Environment variables
3. Add user variable as "JRE_HOME"
   A. Variable: JRE_HOME
   B. Value: C:\Program Files (x86)\Java\jre1.8.0_311\bin
4. Add System variable as “DHIS2_HOME” and value as “C:\DHIS2” and make sure to create the same directory under C drive.
5. Add System variable as “JAVA_OPTS” as set the value as “-Xms7500m -Xmx7500m -XX:PermSize=2048m -XX:MaxPermSize=2048m”
6. Update System variable "Path". Edit it and paste the Java path "C:\Program Files (x86)\Java\jre1.8.0_311\bin"

Note: Please double check your Java installation directory.
6.2 DHIS2 Configuration file: copy the following code and save it as ‘dhis.conf’ at the directory “C\:DHIS2”.
# Hibernate SQL dialect
connection.dialect = org.hibernate.dialect.PostgreSQLDialect
# JDBC driver class
connection.driver_class = org.postgresql.Driver
# Database connection URL
connection.url = jdbc:postgresql:dhis2
# Database username
connection.username = dhis
# Database password
connection.password = dhis
# Database schema behavior, can be validate, update, create, create-drop
connection.schema = update

# Encryption password (sensitive)
 encryption.password = abcd
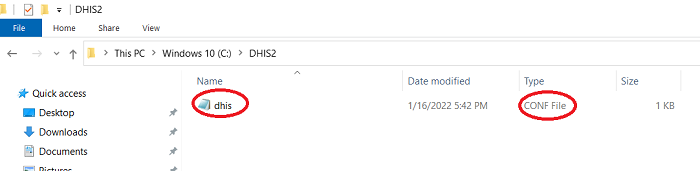
Note: Don’t save this file as .txt or config it should be .conf.

Now we will move to the final step for the DHIS2 war file deployment.
7.1 Copy the dhis2 war file from your downloaded directory and rename it as ‘dhis.war’ and paste it under the following directory where the Apache is installed:
• C:\Program Files (x86)\Apache Software Foundation\Tomcat 9.0\webapps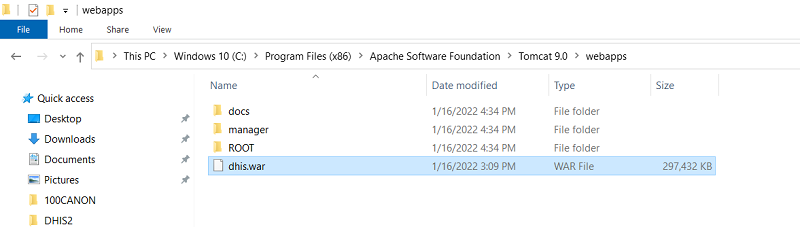
7.2 Now run the Tomcat
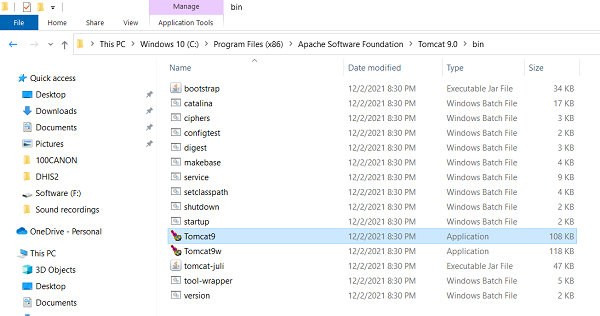
• Location: C:\Program Files (x86)\Apache Software Foundation\Tomcat 9.0\bin
• Right click and run as administrator:
You can see the following window:
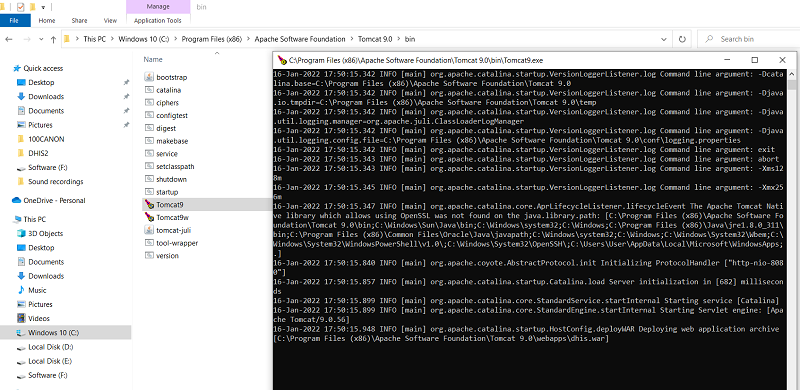
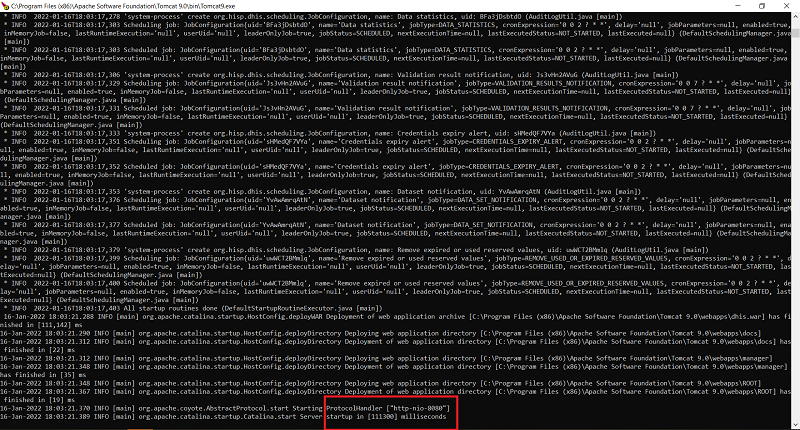
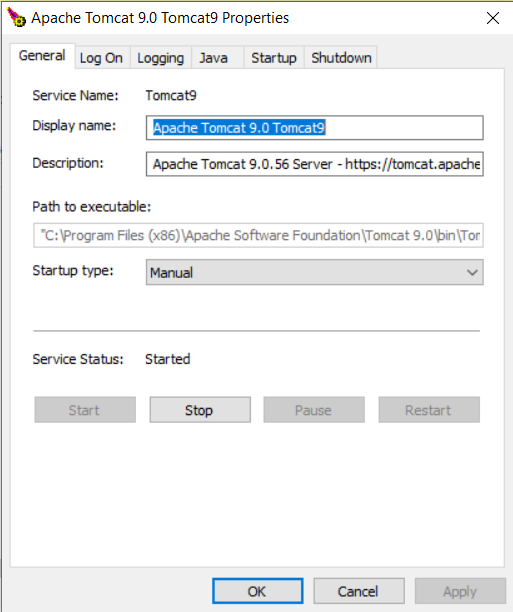
7.3 Run the tomcat: Right click on the Tomcat9w and run as administrator:

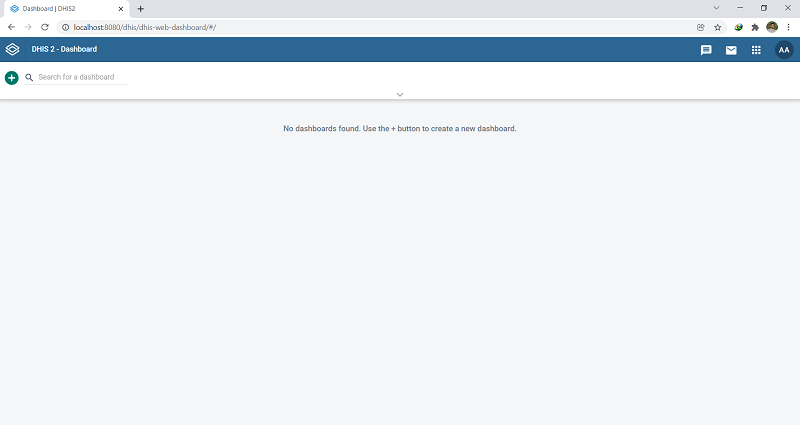
Now, open your browser and type following address:

• Localhost:8080/dhis

Huu ree ree…. It has installed successfully!

Login:
Username: admin
Password: district
Good luck!
If you need any support, don’t hesitate to let me know: https://julhas.com .
- 1. DHIS2 2.36 (https://dhis2.org/downloads/)
- 2. Java 1.8 (https://www.java.com/en/download/manual.jspWindows offline 64 bit)
- 3. Tomcat 9 (https://tomcat.apache.org/download-90.cgi, 32-bit/64-bit Windows Service Installer)
- 4. PostgreSQL 14 (https://www.postgresql.org/download/windows, Download the installer)
2.1 Double click on the jre-8u311-windows-i586 and then click on the Install button
2.2 Started Java Installation:
2.3 Completed installation:
3.1 Double click on the apache-tomcat-9.0.56 and then click on the “Next” button:
3.2 Click on I Agree button:
3.3 Choose components and click on the Next button
3.4 Now, you need to provide Username and Password and click on the Next button:
Username: root
Password: 123456

Note: You can set your own username and password.
3.5 You can change the default path and click on the Next button:
3.6 Uncheck the “Run Apache Tomcat” and then click on the Finish button.
3.7 Finished installation
4.1 Double click on the “postgresql-14.1-1-windows-x64” and proceed with Next button and define your installation directory:
4.2 Select the following components (Default it will be selected) and click on the Next button:
4.3 Set the master password for the superuser ‘postgres’
4.4 Proceed with installation and it may take a few moments and click on the Next button:
4.5 Click on the Finish button and it will show you the another window for Stack Builder (Don’t uncheck Stack Builder):
4.6 Now select the PostgreSQL 14 and click on the Next button:
4.7 Expand the Spatial Extension and tick on the 2nd one:
4.8 Select destination and click on the Next button:
4.9 Select component to install. By default the PostGIS will be selected so just click on the Next button:
4.10 Now you can see some Pop-up windows and click on the Yes button for all:
4.11 Wait for a while and it will finish the PostgreSQL installation.
4.12 Now go to your Computer Search panel and type pgAdmin:
Note: If the password doesn’t work, click on the reset password button and set the same password. See the pgAdmin Dashboard:
So far, we have completed the Java, Tomcat and PostgreSQL installation. Out next step will be to create database for our local server.
5.1 Click on the Login/ Group Roles and create the following roles:
5.2 Now we will create a new database ‘dhis2’ by right click on the Databases:
Database name: dhis2
Owner: dhis (just select from the dropdown)
Click on the save button.
5.3 Now we will create ‘postgis’ extension:
Select the extension name from the dropdown and click on the save button.
For now, we have finished the database part of the DHIS2 instance setup. Now we need some configuration of the installed software’s.
6.1 Environment variable set: Right click on The PC and click on Properties:
1. Click on the Advanced system setting
2. Environment variables
3. Add user variable as "JRE_HOME"
   A. Variable: JRE_HOME
   B. Value: C:\Program Files (x86)\Java\jre1.8.0_311\bin
4. Add System variable as “DHIS2_HOME” and value as “C:\DHIS2” and make sure to create the same directory under C drive.
5. Add System variable as “JAVA_OPTS” as set the value as “-Xms7500m -Xmx7500m -XX:PermSize=2048m -XX:MaxPermSize=2048m”
6. Update System variable "Path". Edit it and paste the Java path "C:\Program Files (x86)\Java\jre1.8.0_311\bin"

Note: Please double check your Java installation directory.
6.2 DHIS2 Configuration file: copy the following code and save it as ‘dhis.conf’ at the directory “C\:DHIS2”.
# Hibernate SQL dialect
connection.dialect = org.hibernate.dialect.PostgreSQLDialect
# JDBC driver class
connection.driver_class = org.postgresql.Driver
# Database connection URL
connection.url = jdbc:postgresql:dhis2
# Database username
connection.username = dhis
# Database password
connection.password = dhis
# Database schema behavior, can be validate, update, create, create-drop
connection.schema = update

# Encryption password (sensitive)
 encryption.password = abcd
Note: Don’t save this file as .txt or config it should be .conf.

Now we will move to the final step for the DHIS2 war file deployment.
7.1 Copy the dhis2 war file from your downloaded directory and rename it as ‘dhis.war’ and paste it under the following directory where the Apache is installed:
• C:\Program Files (x86)\Apache Software Foundation\Tomcat 9.0\webapps
7.2 Now run the Tomcat
• Location: C:\Program Files (x86)\Apache Software Foundation\Tomcat 9.0\bin
• Right click and run as administrator:
You can see the following window:
7.3 Run the tomcat: Right click on the Tomcat9w and run as administrator:
Now, open your browser and type following address:

• Localhost:8080/dhis

Huu ree ree…. It has installed successfully!
Login:
Username: admin
Password: district
Good luck!
If you need any support, don’t hesitate to let me know: https://julhas.com .